This fudge is (surprisingly) easy to make and it sets in minutes!
What if I told you that you could make the most delicious fudge using just four ingredients and that you could have it ready to eat in minutes and that I figured out a way to do this using the least amount of effort possible?
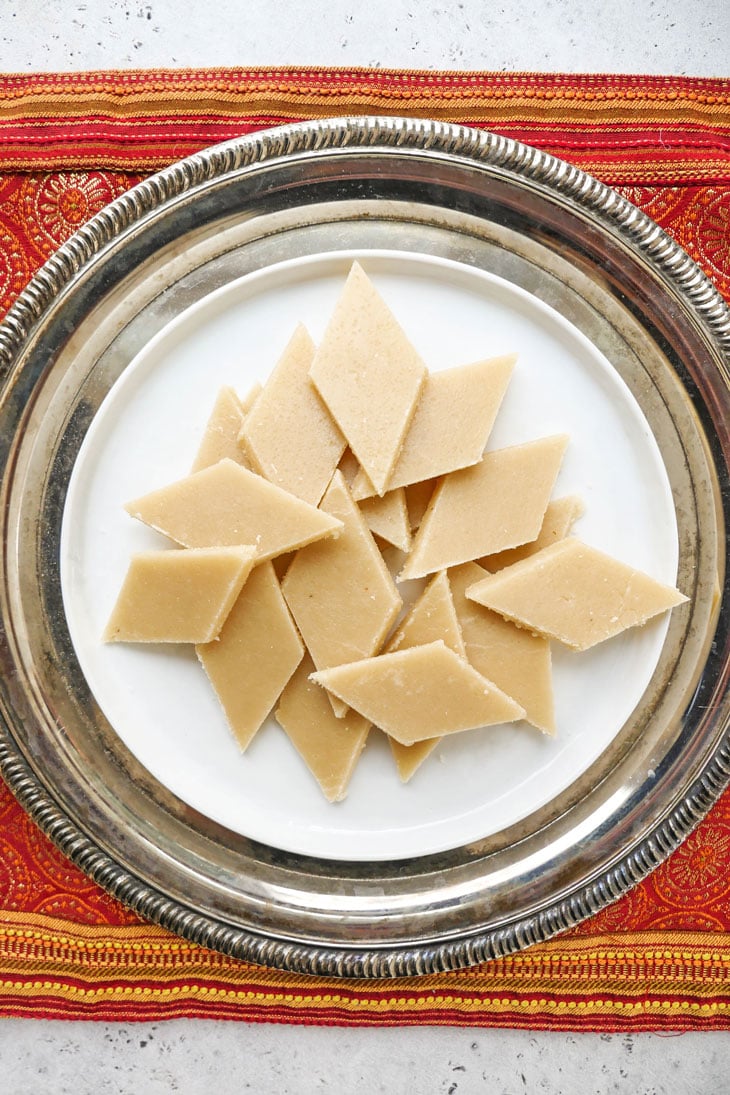
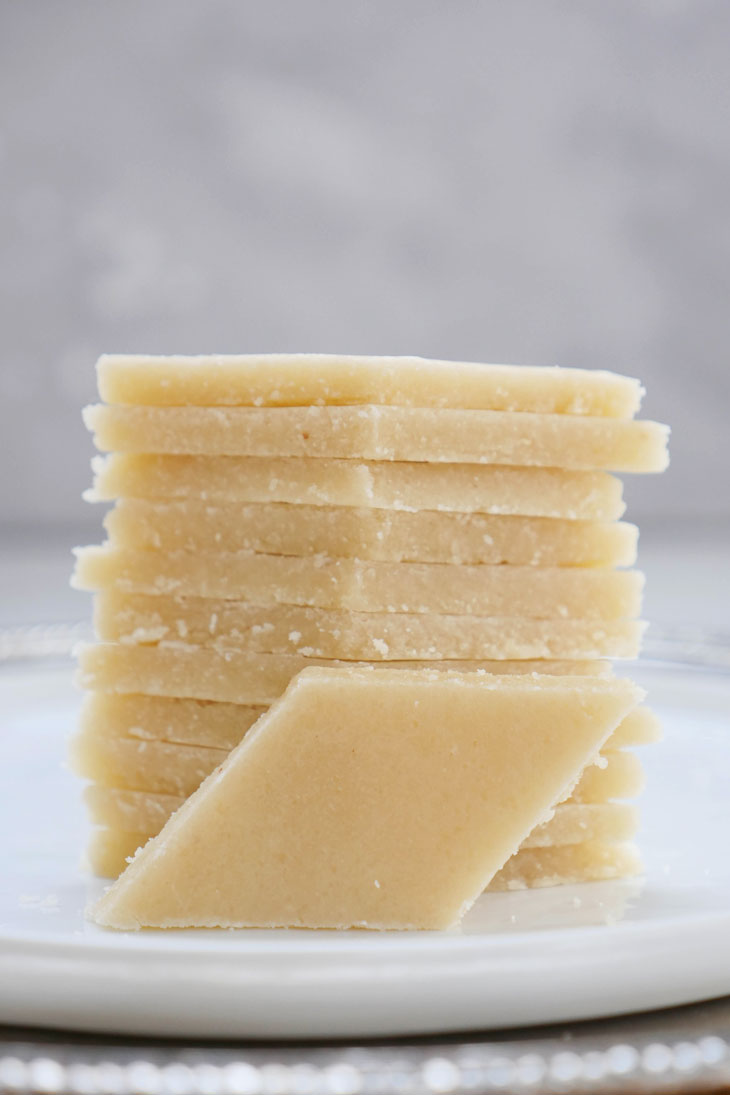
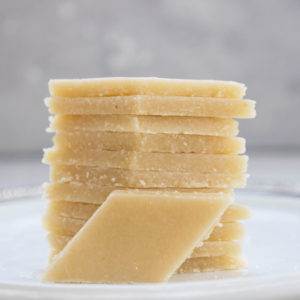
What is Kaju Katli or Badam Katli?
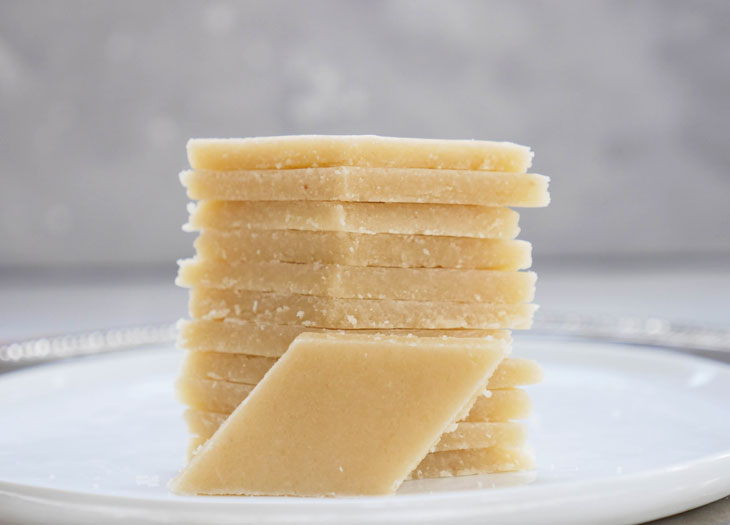
Kaju katli (also known as kaju burfi) translates to cashew slice and is a fudge made from, you guessed it, cashews. Badam katli (almond slice) is made from almonds.
Traditionally, this type of fudge is made by first boiling sugar to the right temperature/consistency and then stirring in finely ground cashews or almonds. We’re removing a lot of the guesswork that comes with creating a sugar syrup and making this in an instant pot!
How is Kaju or Badam Katli different from Kaju or Badam Burfi?
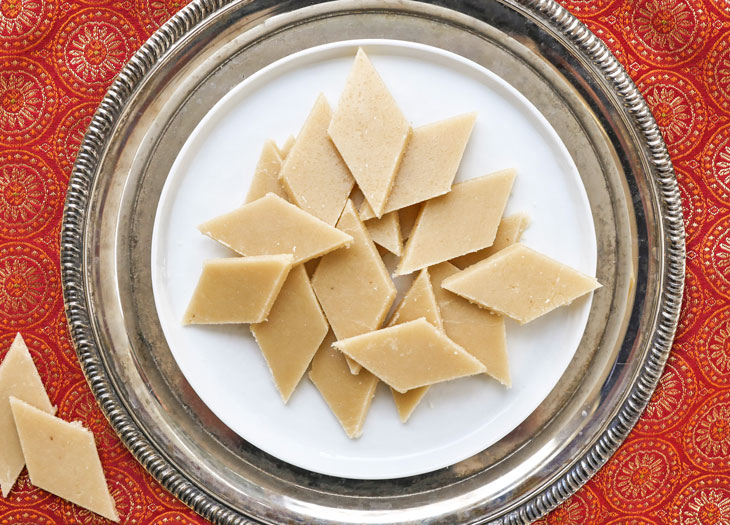
Katli and burfi are sometimes used interchangeably. They’re basically the same thing. The word “katli” means “slice” and so kaju katli is typically thinner and cut into diagonals. Burfi can be thicker and cut into squares.
I thought it making katli or burfi or fudge was difficult?!
Before attempting to make this burfi/mithai, there were two things that intimidated me about it:
- How am I supposed to (effortlessly) get the sugar to the right temperature?
- How am I supposed to (effortlessly) roll out the katli dough?
Well, I’ve figured out solutions to both of these concerns! You are going to be amazed at how easily this dessert comes together.
The first thing we need? The IP!

How does the instant pot make this easy?
I’ve figured out the correct cook time to get sugar syrup (also known as chashni) to the temperature necessary in order to make this fudge.
Traditionally, this is a pain to figure out. Ask your Indian relative/friend how they make this fudge and I guarantee they’ll tell you to put hot sugar in between your pointer finger and thumb and to count “strings.”
Uhhh, no thanks.
You don’t need a candy thermometer to make this and you don’t need to touch hot sugar to determine whether the syrup is “ready.” You just need to use the cook time listed in my recipe and the sugar syrup will be perfect. After that, you stir in some cashew flour or almond flour and follow the rest of the directions.
Do I need a candy thermometer to make kaju katli? No.
No, you do not need a candy thermometer. I have one (a thermapen-mk4 if you need a recommendation – it’s awesome) and I used it to test this recipe (many times) so that you don’t have to.
But for those curious, in order to make this type of fudge you want the sugar syrup to reach the “softball stage” (around 235-240F), also known as “two-string consistency.” In all of my recipe testing, I found that the fudge also turns out fine if it gets to the “firmball stage” as well. It’s flexible by several degrees.
After testing this recipe and making tweaks, I’ve learned that it all comes down to the right ratios. You’ll notice that my recipe calls for an unconventional measurement of water (¼ cup and 2 tablespoons). Every time I’ve made it as written below, it has turned out perfectly.
Watch How To Make Kaju Katli – It’s so easy!
(for the full recipe, see the recipe card below 😋)
Ahhhh. I see the burn sign, what do I do?!
It took me a ridiculous number of attempts (15) to get this recipe right and then after I perfected it, I made it over a dozen more times to make sure it really was perfect (because the last thing I want to do is get you super excited about a recipe that’s not perfect). I did get a “burn” sign during several of my attempts and I’m so glad I did because now I know what to tell you if this happens to you… ignore it.
If the burn sign comes up, it’ll go away on its own after a minute or two and the pressure cooker will continue to count down. As long as your valve is closed and the silicone ring is on properly, it’ll be fine. The sugar won’t burn. The temperature of the syrup will still be within the correct range to make this fudge.
What kind of cashews or almonds should I use?
Almond flour is easily accessible and so it’s very easy to make almond fudge. I buy blanched almond flour from Costco. You can find blanched almond flour at any grocery store.
Kaju katli is amazing but requires more work because you have to grind your own raw cashews. I’ve tried this katli using store-bought cashew flour (the Presto brand on amazon) and it was texturally different and not as good as cashew fudge made with freshly ground raw cashews.
How the heck am I supposed to roll this dough out?
I can’t roll a round roti to save my life. Or a pie crust. Or really anything. Are you in the same boat? I have a solution.
Get yourself a rolling pin with training wheels! There are little wheels on this rolling pin that you can adjust so you can easily roll out dough to your desired thickness.
You obviously don’t need to get that rolling pin if you know how to roll things out. That recommendation is more for my fellow millennials and/or for those of us who never inherited our family’s rolling genes (aka patience).
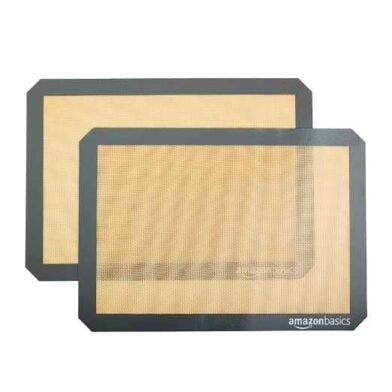
A silicone baking mat and a pizza cutter are also helpful. It’ll make the process of rolling/cutting the dough and removing the katli a lot easier. A silicone mat is non-stick, reusable, and multipurpose (can use it to bake cookies!). If you don’t want to get this silicone mat then you can roll this dough out onto a well-greased piece of parchment paper.

Can I make more or less? What size instant pot do you use?
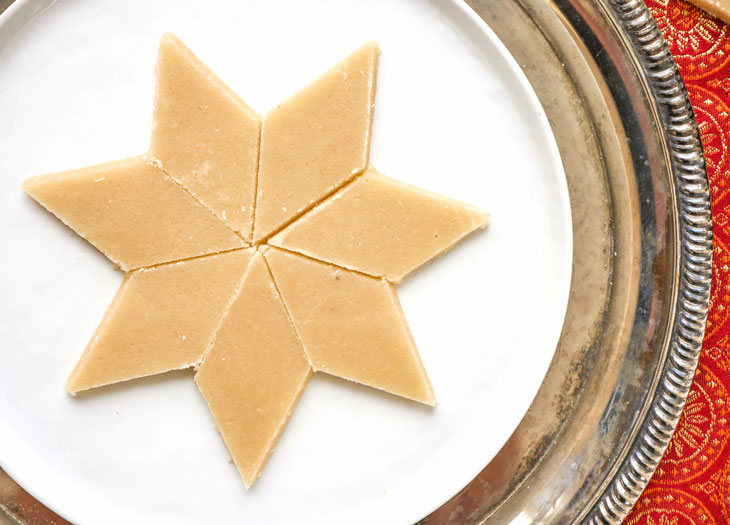
Please follow my exact directions and ratios if you’d like to see what you see in these photos.
I know normally you can double or triple my recipes without any issue but that won’t work with this recipe. Sugar syrup is (obviously) different from curry and when you use more or less sugar/water, you’ll need to adjust cook times. I have no idea what those cook times are. Hopefully, you read above and saw that it took me forever to figure out this recipe with these ratios.
I use a 6 quart to test all of my recipes. That’s all the company made when I first got my pot and while I’ve thought about getting an 8 quart, I just don’t have the counter space for it. Also… honestly? If I had to test recipes in 2-3 different-sized pressure cookers, I’m not sure I’d ever get to actually share anything on the blog. All that to say, I don’t know if these times will work in a 3 quart or an 8 quart but my guess would be no due to the difference in surface area, sorry!
I’ve tested this recipe in my new ultra model and my old duo model.
Shop
See All

Should Kaju Katli be kept in the fridge?
You can store kaju katli on the counter for a few days, but I personally like to store it in the fridge to keep it fresh. Take it out, let it come to room temperature, and enjoy it.
What is the silver coating sometimes seen on Katli or Burfi?
It’s funny, since first sharing this recipe, a lot of readers have asked me if kaju katli is “the one with the silver on it?” and yes, this is the same dessert, haha. If you go to a mithai shop and buy a box of kaju katli, it will likely have what’s called “vark” on top of it it. Vark is a flavorless, very thin sheet of edible silver that’s often used as a garnish on Indian sweets. Basically the Indian version of sprinkles.
I personally don’t use vark when making homemade desserts. I’m just not comfortable using silver sheets especially since I don’t know how pure they really are. I’m sure there is high-quality vark out there, and if I hear of a good brand, I’ll be sure to update this post.
Alright, go make this fudge! And then come back and tell me how incredibly easy it was for you to make!
Instant Pot Kaju Katli/Badam Katli (Cashew or Almond Fudge)
Instant Pot Kaju Katli/Badam Katli (Cashew or Almond Fudge)
Ingredients
- 1 cup sugar approx. 200g
- ¼ cup + 2 tablespoons water* approx. 2.7 oz
- 1 tablespoon ghee
- 2 cups finely ground blanched almond flour or cashew flour approx. 180-190 grams, room temp.
Instructions
- Add the sugar and water to the pot and mix well.
- Secure the lid, close the pressure valve and cook for 10 minutes at high pressure.
- Quick release pressure.
- Add ghee and flour to the pot and quickly stir until well combined. The mixture should easily leave the sides of the pot and look like it’s coming together – it should not look runny. If it does look runny, press sauté and stir the dough for 1-2 minutes or until it starts to leave the sides of the pot (if you are using homemade cashew flour, that does tend to have more moisture and so you will need to sauté for 2-3 minutes).
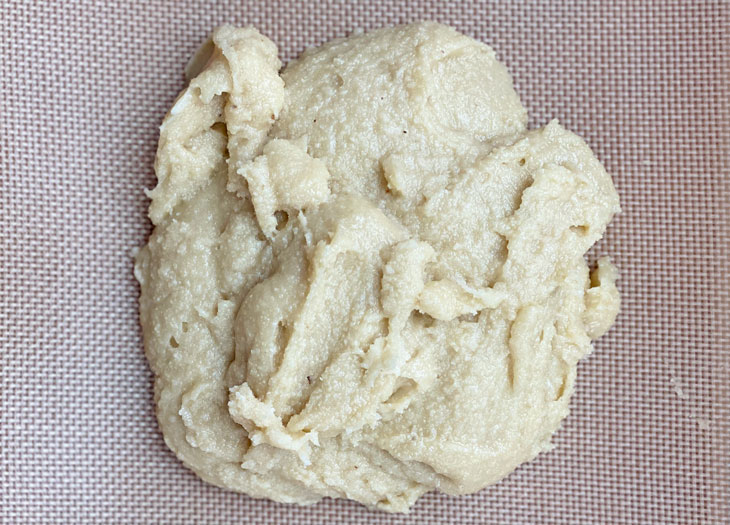
- Dump the dough out onto a silicone mat (or a well greased piece of parchment paper). Place parchment paper on top of the fudge and use a rolling pin to roll the dough out to desired thickness (I prefer ¼ inch thickness – this rolling pin makes it easy to roll out the fudge). This is what the dough should look like before you roll it out:

- This fudge will set in 10 minutes! Once the fudge looks firm, use a pizza cutter (or a knife) to cut the fudge into pieces. The fudge will continue to cool down and firm up. You can keep it on the counter for a couple days. After that, I’d suggest storing it in the freezer.
Video
Notes
- *I use a dry measuring cup to measure the ¼ cup of water (it’s easier to see the exact amount of water).
- You don’t need to weigh the ingredients. I’m including that information only because I get a lot of requests for precise measurements.
- If the fudge doesn’t set in 10 minutes, that likely means the nut flour has too much moisture in which case you can either wait until it sets on its own (possibly overnight) OR you can add the dough back to the pot and sauté for 1-2 minutes to help dry any moisture then roll it out again.
- What to do if you see the burn sign: I’ve made this recipe dozens of times and have seen the burn sign during several attempts. If the burn sign comes up, it’ll go away on its own after a minute or two and the pressure cooker will continue to count down. As long as your valve is closed and the silicone ring is on properly, it’ll be fine. The sugar won’t burn. The temperature of the syrup will still be within the correct range to make this fudge.
- These items may be helpful in making this: rolling pin and silicone mat.
- This fudge must be made with room temperature nut flour. I normally store nut flours in the freezer but if you use cold flour, you will need to sauté the mixture in step 4 to make sure the dough dries up.
- Important: All of the recipes on my blog are tested using a 6 quart instant pot – I have not tested this recipe in a different sized pot. I don’t know if this recipe will work in a 3 quart or 8 quart as the surface area is different and will affect the temperature of the sugar syrup. I suggest only using a 6 quart for this recipe.


Manasa says
Excellent recipe. I’ve made this multiple times and always turns out great. I made it in 3 qt instant pot with the same ratio and cooking time and no issues.
Ashley - My Heart Beets says
Manasa, so glad to hear that! Thanks for letting me know how it turned out in a smaller pot.
Shri says
How many pieces would it yield for the measurements of this recipe? That information would be really helpful in case we need to buy more quantity of ingredients
Lalitha Jairam says
I tried your recipe today and it was just perfect. I rolled it out too thin, however, so I folded two pieces one on top of the other to make a thicker piece. Next time I will do it right. Thanks for the perfect recipe!
Ashley - My Heart Beets says
So glad to hear that! Thanks for sharing 🙂
Asha P says
WOW this really worked as shown. My first time successfully making the sugar syrup …. And so easy to do. Kudos for figuring this out with an IP. Thank You !!
Ashley - My Heart Beets says
Thanks Asha 🙂 I’m glad you liked this!
Shubha says
This is the best recipe ever and I have made is atleast a dozen times using my 3 quart. Thank you Ashley! And yes the recipe works on the for using a 3 quart as well!
Ashley - My Heart Beets says
Shubha, I’m so glad to hear that! Thanks for letting me know how much you like this recipe! Also great to know that it works well in a 3qt.
Poonam says
Hi Ashley,
Tried the recipe, it’s Perfect!!! I made with almond flour and it turned out so soft and yum!! Took it for. a puja and every one liked it. Thanks for sharing a full proof recipe.
Ashley - My Heart Beets says
Poonam, that’s so great to hear! Thanks for letting me know how it turned out for you 🙂
Vijay says
Do you have a sugar free version
Ashley - My Heart Beets says
Hi Vijay, I don’t sorry!